Updating ownCloud
The Updater app provides a more automated method of updating ownCloud. To use the Updater app, it must be enabled in your ownCloud instance. The Updater is enabled in your ownCloud instance by default when you install.
To update ownCloud:
Note
To update ownCloud, the Updater app must be enabled in your ownCloud instance. The Updater app is enabled in your ownCloud instance by default when you install. However, to verify that it is enabled, or to enable the Updater app, see Enabling the Updater App.
- Make a backup of the ownCloud folder and the database. See Backing up ownCloud for details.
- Navigate to the ‘Admin’ page.
- Click the ‘Update’ tab.
- Refresh the page using Ctrl+F5.
If this procedure doesn’t work (for example, ownCloud 5.0.10 doesn’t show new any new version) you could try to perform a full upgrade to update to the latest point release (see below).
Verifying the Updater App is Enabled
However, to verify that the Updater is enabled in your ownCloud instance:
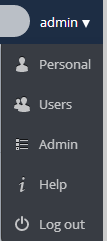
- Select the “Admin” option from the “Personal Settings” dropdown menu.
- Scroll down the resulting web page. If the Updater app appears in this window, the app is enabled. If not, then you must enable it. See Enabling the Updater App.
Enabling the Updater App
The Updater app is enabled in your ownCloud instance by default when you install. However, it is possible that it was disabled at some point. To enable the Updater app:
- Click the “+ App” function in the Apps Selection Menu.
The “Select an App” window opens.
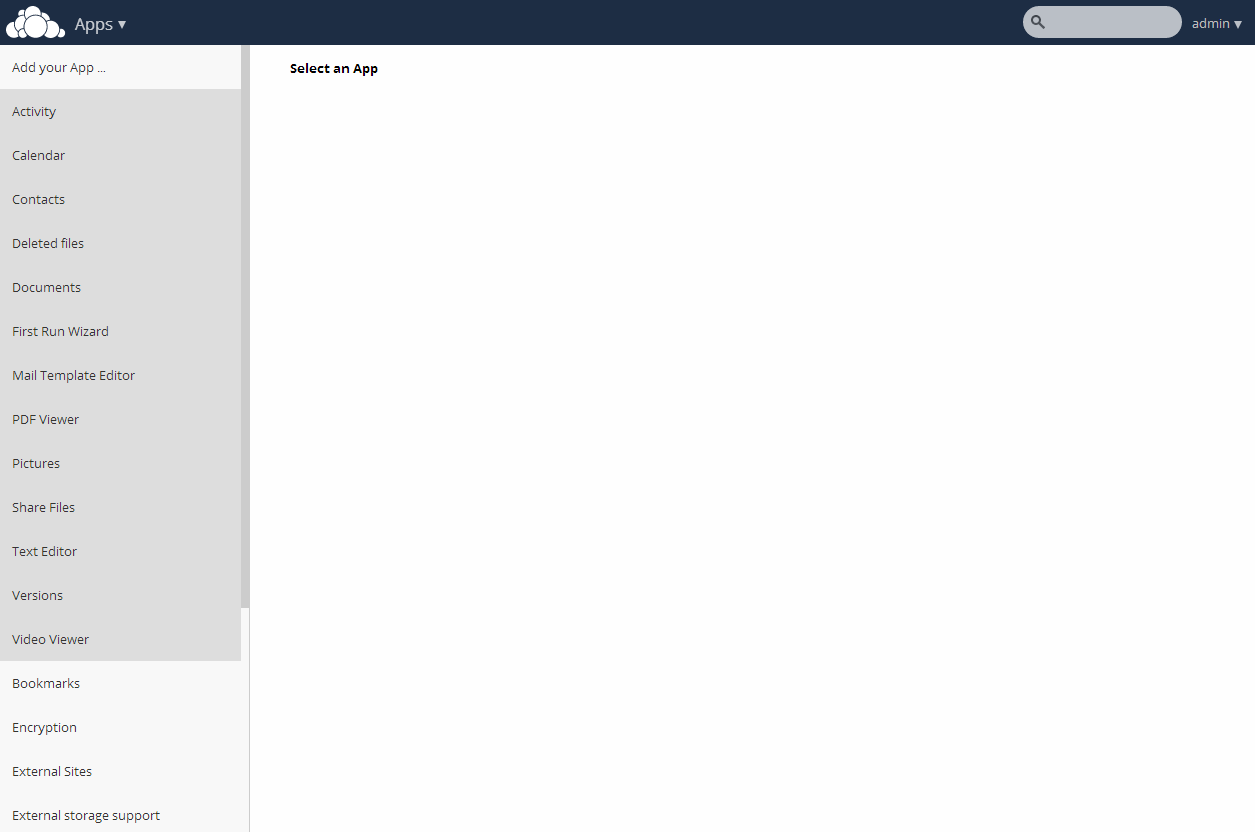
Select an App window
- Scroll down the list of apps on the left side of the web page and select the Update app.
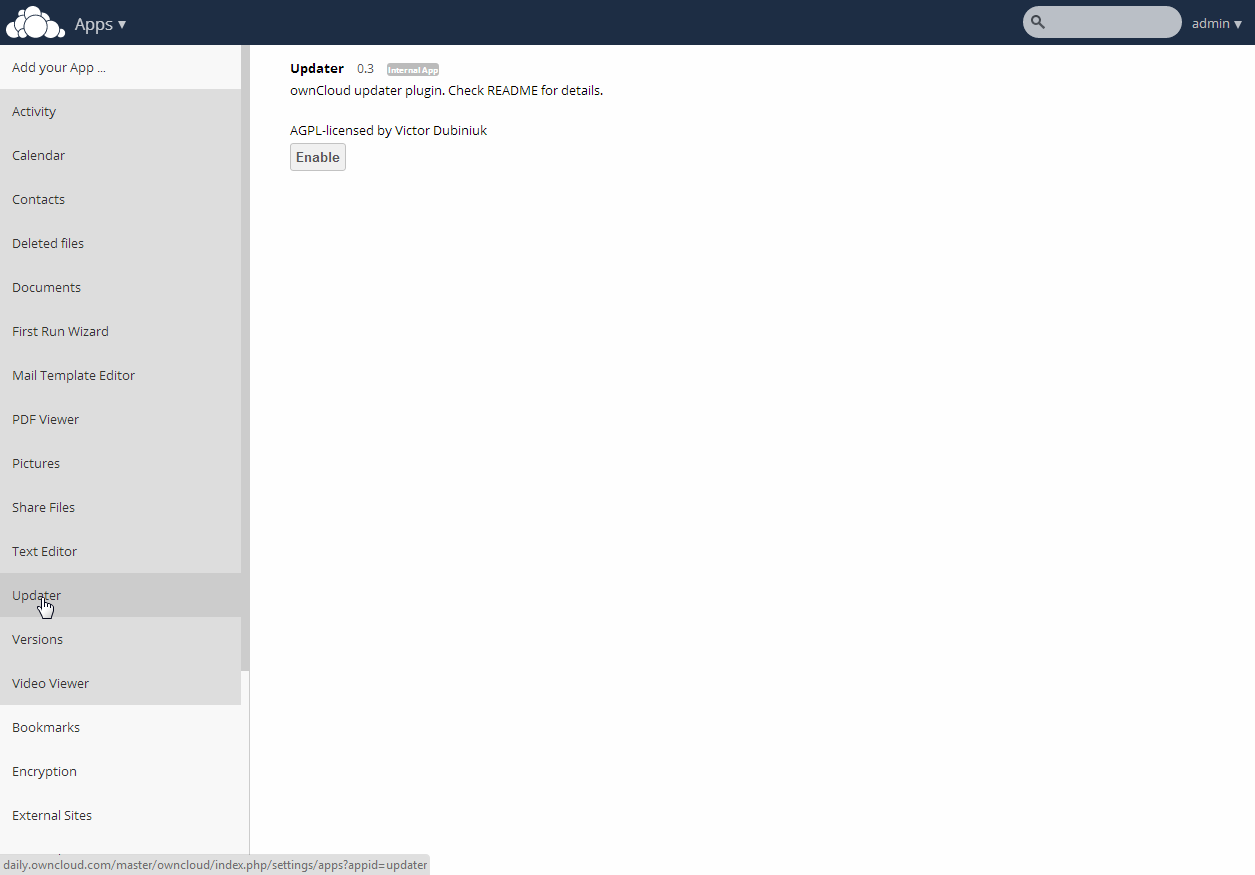
Selecting the Updater app
- In the App View window, click “Enable.”
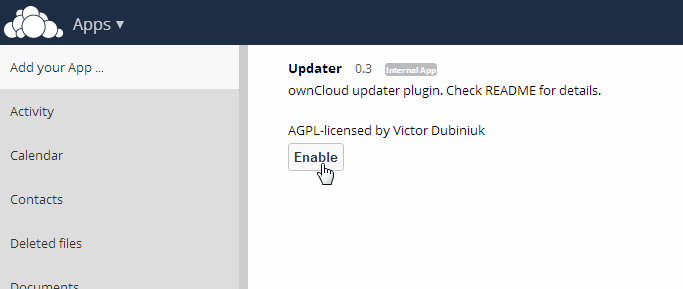
Enabling the Updater app
ownCloud enables the Updater app.
Upgrading the ownCloud Server
The process for upgrading the ownCloud Server is fairly straightforward but requires planning and proper file and folder management.
To upgrade your ownCloud Server:
- Ensure that you are running the latest point release of your current major ownCloud version (for example, point release 5.0.14a in the version 5.0 series). To update to the latest point release see ‘Updating ownCloud’_.
- Deactivate all third party applications.
Note
Not all third party applications are supported on all ownCloud Server versions. Make sure to check version compatibility prior to upgrading your ownCloud server.
- Back up your existing ownCloud Server database. You can find these procedures in Backing up ownCloud.
- Download the latest ownCloud Server version to your working directory.
For Linux operating systems, use the following command:
wget http://download.owncloud.org/community/owncloud-latest.tar.bz2
For Windows operating systems:
See the installation instruction in Windows 7 and Windows Server 2008.
- Stop your web server.
Depending on your environment, you will be running either an Apache server or a Windows IIS server. In addition, when running your server in a Linux environment, the necessary commands for stopping the Apache server might differ from one Linux operating system to another.
To stop an Apache server, refer to the following table for specific commands to use in different Linux operating systems:
Operating System Command (as root) CentOS (Redhat) apachectl stop Debian or Ubuntu /etc/init.d/apache2 stop openSUSE or SUSE (SLE) /usr/sbin/rcapache2 stop To stop the Windows IIS web server, you can use either the user interface (UI) or command line method as follows:
Method Procedure User Interface (UI)
- Open IIS Manager and navigate to the Web server node in the tree.
- In the Actions pane, click Stop.
Command Line
- Open a command line window as administrator.
- At the command prompt, type net stop WAS and press ENTER.
- (Optional) To stop W3SVC, type Y and then press ENTER.
Note
For specific instructions on how to stop, start, or manage your server, please refer to instructions for the server on your specific operating environment.
- Move, or rename your current owncloud directory (named /owncloud if installed using defaults) to another location for use in your new version of ownCloud.
Note
This step ensures that you have a version of ownCloud available for backup purposes.
- Replace the old version of ownCloud Server with the new version of ownCloud Server:
Assuming that your installation directory is called ‘owncloud’, and that it resides in your working directory, the command to unpack the release tarball into the directory would be as follows:
tar xjf owncloud-latest.tar.bz2In Microsoft Windows environments, you can unpack the release tarball using WinZip or a similar tool (for example, Peazip).
Always unpack server code into an empty directory. Unpacking the server code into an existing, populated directory, is not supported.
Note
If you unpack into an existing installation, the autoloader might pick up classes twice because the files have been moved, resulting in a Cannot redeclare class error.
- Copy and paste the /config/config.php file from the saved version of ownCloud to the /config directory of your new ownCloud version.
Note
You must perform this step before restarting your web server.
- If you chose to keep your /data directory in your /owncloud directory, copy and paste it from the old version of ownCloud to the /owncloud directory of your new ownCloud version.
Note
We recommend storing your /data directory in a location other than your /owncloud directory. If you have your /data directory already stored in another location, you can skip this step. If you want to do so, now is a good time to change the location of your /data directory. See “Advanved Options” chapter in Installation Wizard for added details about changing the default database or data directory.
- Restart your web server.
Depending on your environment, you will be running either an Apache server or a Windows IIS server. In addition, when running your server in a Linux environment, the necessary commands for stopping the Apache server might differ from one Linux operating system to another.
To restart an Apache server, refer to the following table for specific commands to use in different Linux operating systems:
Operating System Command (as root) CentOS (Redhat) apachectl start Debian or Ubuntu /etc/init.d/apache2 start openSUSE or SUSE (SLE) /usr/sbin/rcapache2 start To start the Windows IIS web server, you can use either the user interface (UI) or command line method as follows:
Method Procedure User Interface (UI)
- Open IIS Manager and navigate to the Web server node in the tree.
- In the Actions pane, click Start.
Command Line
- Open an elevated command line window.
- At the command prompt, type net start W3SVC and press ENTER. This command starts both WAS and W3SVC.
Note
For specific instructions on how to stop, start, or manage your server, please refer to instructions for the server on your specific operating environment.
- Use a browser to your ownCloud server.
This step is required. Accessing the server using a browser connection launches the server upgrade.
- If third party applications were running on your system, ensure that they provide versions compatible with the new ownCloud release. If compatible, you can reinstall and enable these applications.
Note
Update procedures should run when necessary.